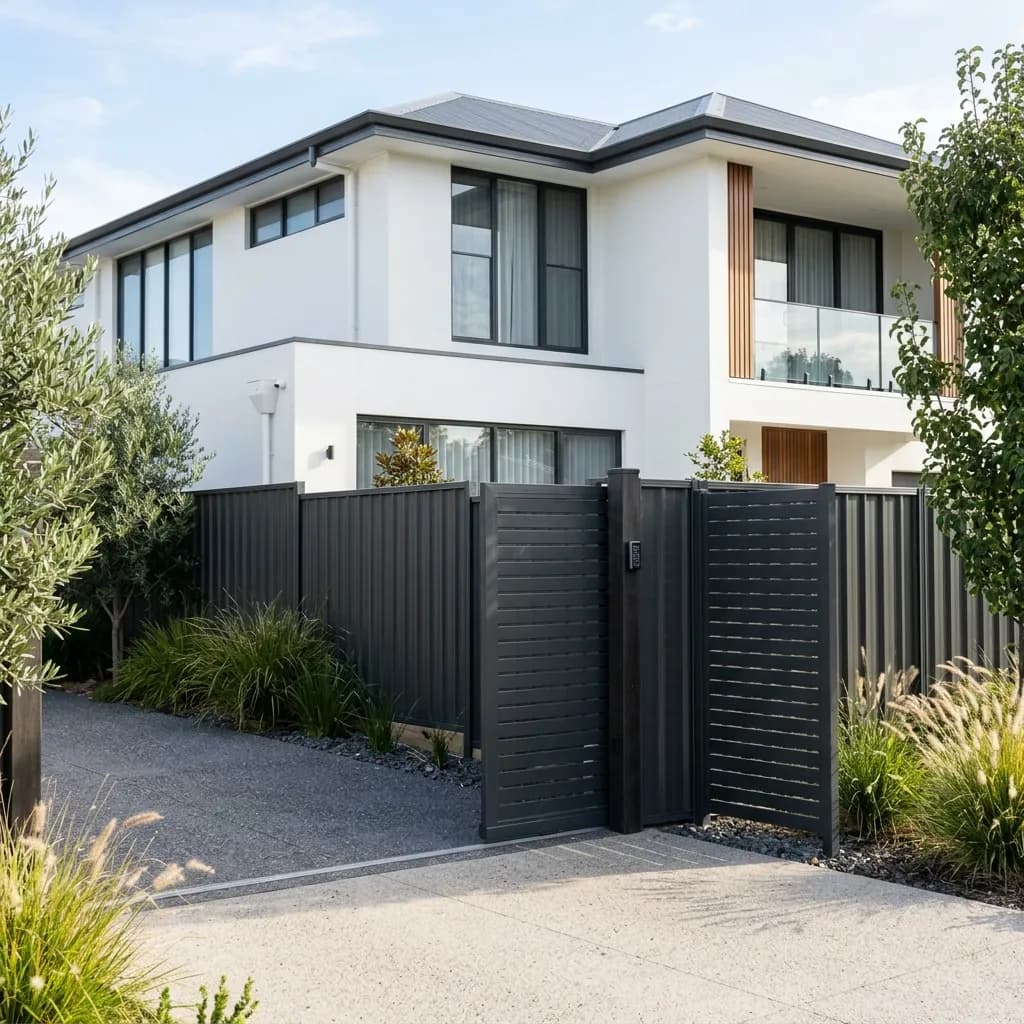
How to Install
a Colorbond Fence
The whole sequence, honestly. Colorbond is genuinely DIY-able on a flat, straightforward run. Here is the method, the detail that decides how long it lasts, and where it stops being worth doing yourself.
Can you install Colorbond yourself?
On a flat, straight, accessible run with no gates, yes. Colorbond is a kit system: posts, rails and sheets that slot together. The physical work is not difficult and the components are designed to go together in one order.
The sequence is: set out the line, dig and concrete the posts, let them cure, fit the rails, slide in the sheets, then fit the caps and any gates. The whole thing is a weekend for two people on a 20 metre run, plus a day between for the concrete.
Two details decide whether it lasts twenty-five years or eight. Post depth, which needs to be at least 600mm in concrete for a 1.8 metre fence. And the base gap: sheets must not sit in soil or mulch, or they wick moisture and rust from the bottom edge, which also voids the BlueScope warranty.
Where DIY stops making sense: sloping ground, because each panel has to be stepped or raked and cut; gates, because they need reinforced posts and hanging square; and exposed sites, which need heavier posts at closer spacing. Any of those and the savings evaporate fast.
DIY against installed, either way
A 20 metre 1.8 metre run, DIY compared with installed. DIY saves the labour, not the materials; the rest is the tools and the days you spend on it.
| Approach | Time | Risk |
|---|---|---|
| DIY, flat straight run | A weekend plus a curing day | Post depth, base gap, line |
| Installed, flat straight run | 1 – 2 days | Covered by the guarantee |
| DIY on a slope | Considerably longer | High. Every panel cut individually |
| DIY with gates | Add a day | High. Gates fail first if hung badly |
DIY saves the labour, not the materials. On a straightforward run the saving is real. On a slope or with gates, the extra time and the risk of getting the posts wrong usually cancel it out.
Installing a Colorbond fence, in order
1Set out the line
String line between the corner pegs, then mark post positions at even spacing, usually around 2.4 metres. Check the boundary before you dig; the old fence is not evidence of where the line is. Call before you dig for services.
2Dig and concrete the posts
At least 600mm deep for a 1.8 metre fence, deeper on exposed sites. Set each post plumb, brace it, and pour concrete. Get the end and corner posts perfect; everything else is measured from them.
 3
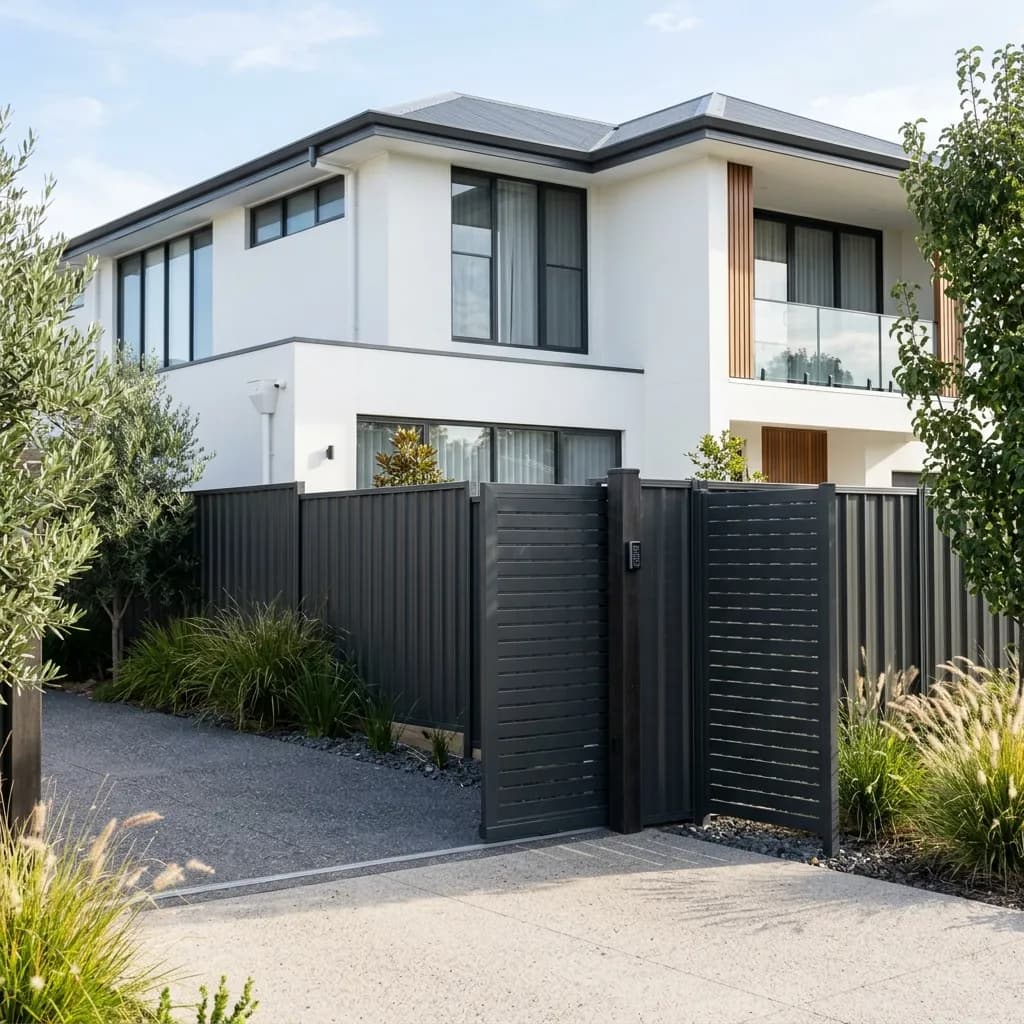
Let the concrete cure
Do not hang anything off a post while the concrete is green. This is the step DIY jobs skip most often, and it is why some fences are subtly out of line for their whole lives.
 4
Fit rails, then sheets
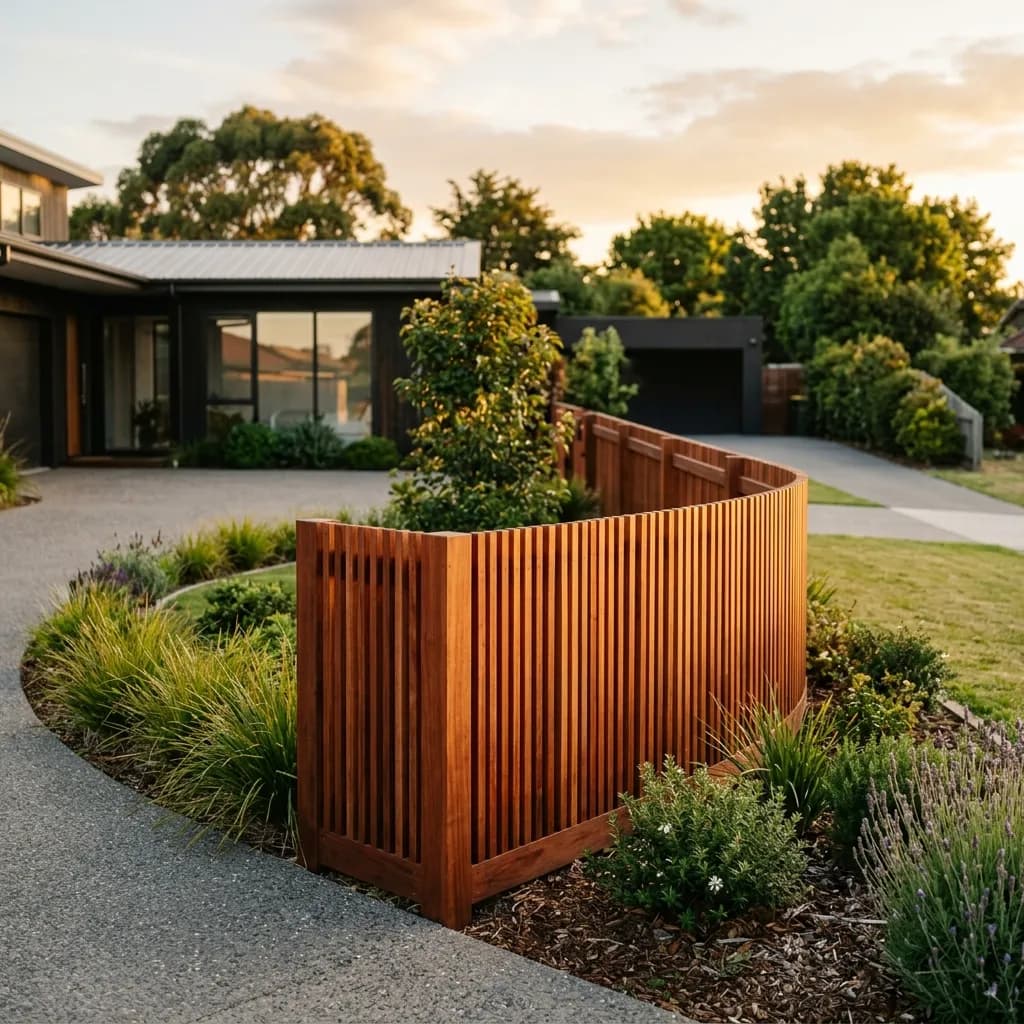
Rails into the post brackets, checked level. Then slide the sheets down between the rails, each one interlocking with the last. Keep the bottom edge clear of the ground as you go.
 5
Caps, gates and clean up
Fit the post caps and top rail. Hang any gates on their reinforced posts, square and swinging free. Sweep up every metal offcut and filing, because they rust and stain what they sit on.
Four details that decide the lifespan
We get called to fix these. All four are free to get right at install and expensive to fix afterwards.
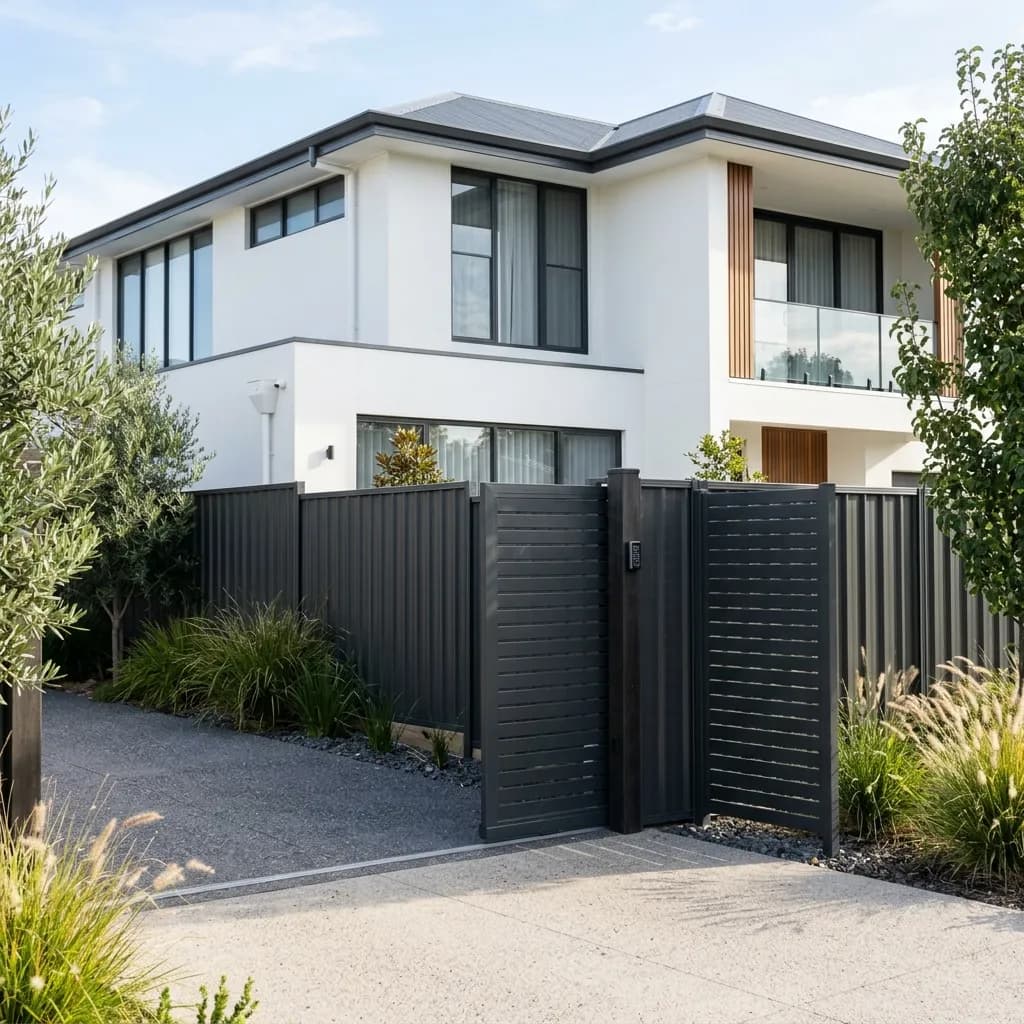
Colorbond fences fail at the bottom edge
Almost every early Colorbond replacement we quote has sound panels and a rusted base, because the sheet was set into the dirt. It costs nothing to avoid on installation day.
Post depth
At least 600mm in concrete for a 1.8 metre fence. Shallow footings are the most common DIY shortcut and the most common reason a fence starts leaning within a few years.
Sheets in the dirt
A sheet set into soil or mulch wicks moisture and rusts from the bottom edge up. It also voids the BlueScope warranty. Keep a gap, or fit a plinth if you want the ground closed off.
Metal filings left behind
Offcuts and drill swarf left on the ground or on the sheets rust and stain the paint permanently. Sweep as you go rather than at the end of the day.
Cut edges near salt
The coating protects the face, not the cut. Near the bay, exposed cut edges are where corrosion starts. Minimise cutting, and cut so the raw edge is not the bottom edge.
Colorbond installs across Melbourne
Bayside
Known for Bayside, Glen Eira and Port Phillip councils.
Colorbond installation questions
What people ask before deciding to take it on.
Get it quoted insteadOn a flat, straight, accessible run with no gates, yes. It is a kit system designed to go together in one sequence. Sloping ground, gates and exposed windy sites are where it gets difficult enough that DIY savings disappear.
Related guides and tools
How to Measure for a Fence
Get the numbers right before you order materials.
Read more GuideHow to Clean a Colorbond Fence
The only maintenance it needs once it is up.
Read more ComplianceFence Height Rules
Confirm the height you can build before you dig.
Read more ComparisonColorbond vs Timber
If you have not fully committed to the material yet.
Read more
Rather have it done properly?
Genuine BlueScope steel, posts to depth, a proper base gap and a ten-year workmanship guarantee. Free measure and fixed price.