Colorbond Fence Installation Melbourne
A Colorbond fence is a kit of parts, and the parts are not the hard bit. The hard bit is the fifteen minutes per post where the hole is bored to the right depth for the soil, the post is set plumb in two planes and left alone while the concrete takes up. Get that right and the sheets drop in straight and the top rail runs level to the eye. Get it wrong and no amount of adjusting the sheets will hide it. This page is the build sequence as we do it, what changes on a slope or in basalt, and an honest account of where a DIY installation usually comes apart.
Colorbond fence installation, step by step
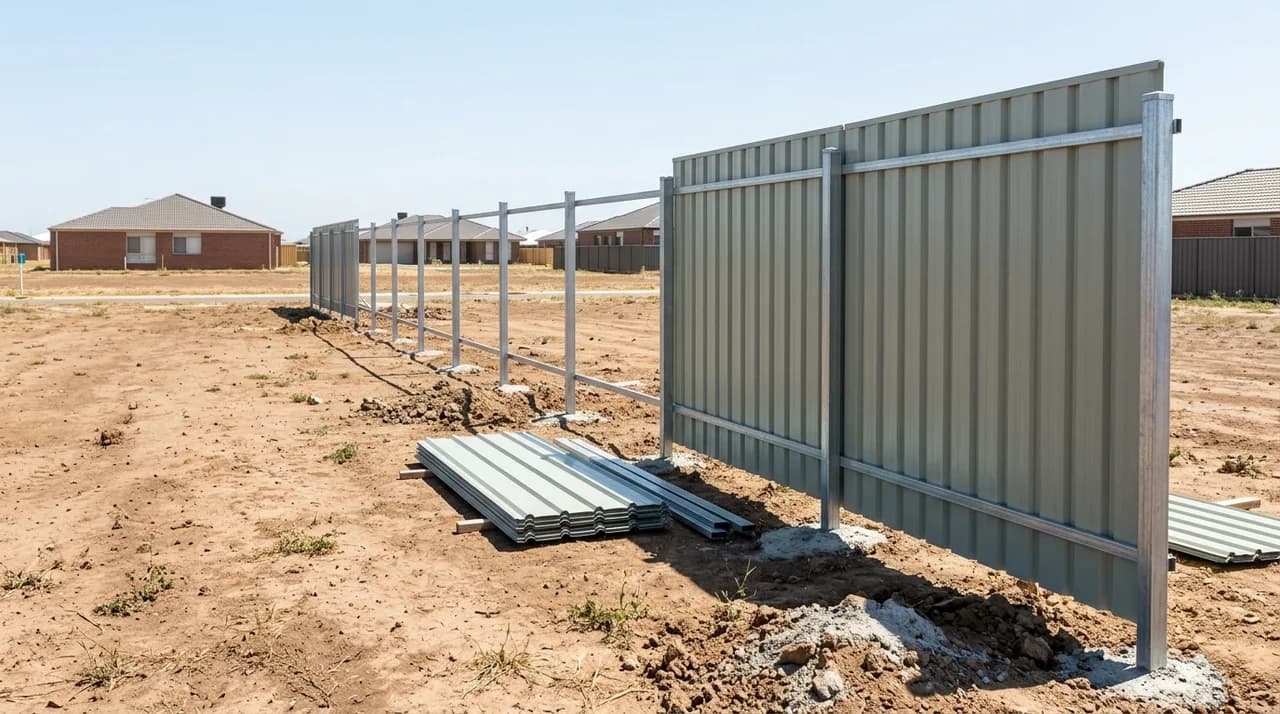
The sequence below is the one that gives a fence a straight top rail and sheets that sit flat, and the order matters. Posts go in first and are given time; rails are fixed to the posts at set heights, not eyeballed; sheets are dropped into the rails and clipped; capping goes on last. On a slope the fence either steps at each post, which is quicker, or the sheets are cut to the fall so the top rail follows the ground, which looks better and costs more cutting. In the basalt soils of the west and north the holes are machine bored, and in bayside sand they go deeper. The two things that make a DIY fence look DIY are posts that are not plumb across the run, which shows as a waver in the top rail from the street, and rails fixed at different heights from post to post, which shows as sheets that do not line up.
Boundary confirmed, post positions marked at 2400mm centres to suit standard sheet widths, services located before anything is bored.
300mm diameter. 600mm deep in clay, 750mm for a 2.1m fence, 900mm in sand or on an exposed site. Machine bored; basalt is drilled, not dug.
Galvanised SHS posts set plumb in two planes in 20MPa concrete, braced, and left to take up before anything is hung on them.
Three rails at 1.8m: top, mid and bottom, fixed at the same measured heights on every post so the sheets line up along the run.
Sheets dropped into the rails and clipped so they cannot lift in wind. Cut edges sealed. Colour-matched capping across the top, post caps on.
Gate hung and adjusted to self-close if required. The run is sighted from both ends for line and level before we leave.
See the colour on a real boundary, not a chip
Colorbond reads completely differently at fence scale than it does on a small sample. Tap a colour to wrap a real Melbourne backyard.
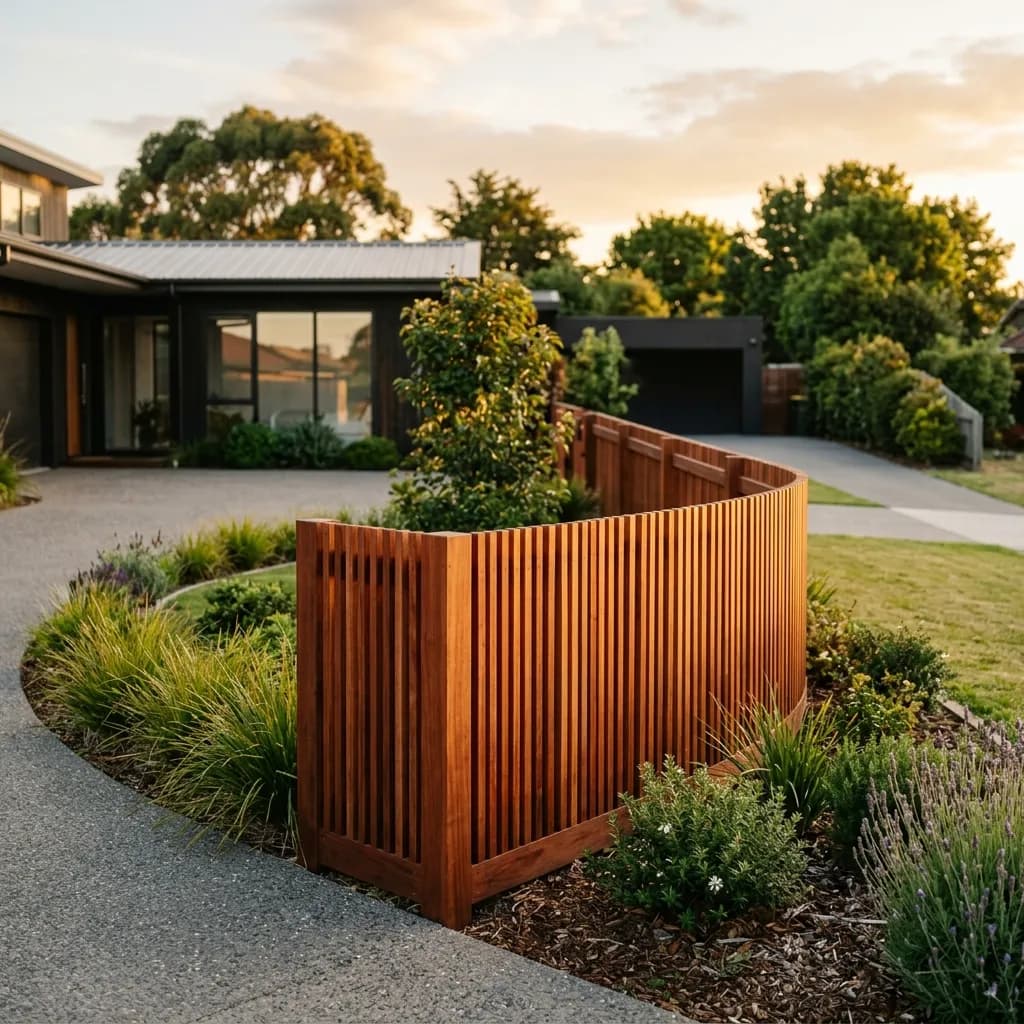
Colour names are BlueScope® Colorbond® trademarks. On-screen colours are indicative; we bring physical samples to your free measure.
Colorbond fencing cost Melbourne
What a standard residential run includes: genuine Colorbond® steel, posts in concrete and rails. We give you a firm, itemised price at your free on-site measure.
Technical specifications
Steel & coating
Dimensions & install
Colour & assurance
Our installation process
 1
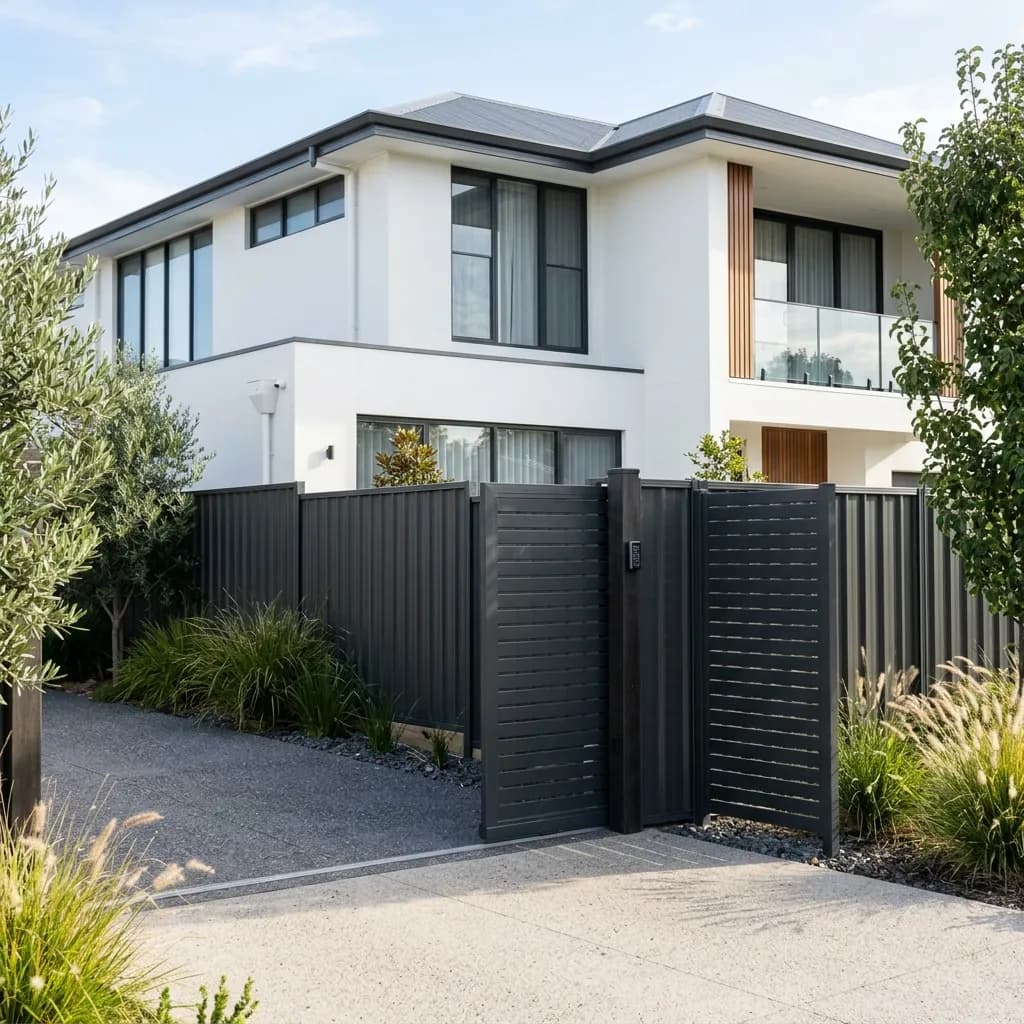
Site survey and mark-out
Boundary confirmed, slope and soil noted, posts marked at 2400mm centres, services located.
 2
Bore and set posts
Holes bored to the depth for your soil, posts set plumb in two planes in 20MPa concrete, braced and left.
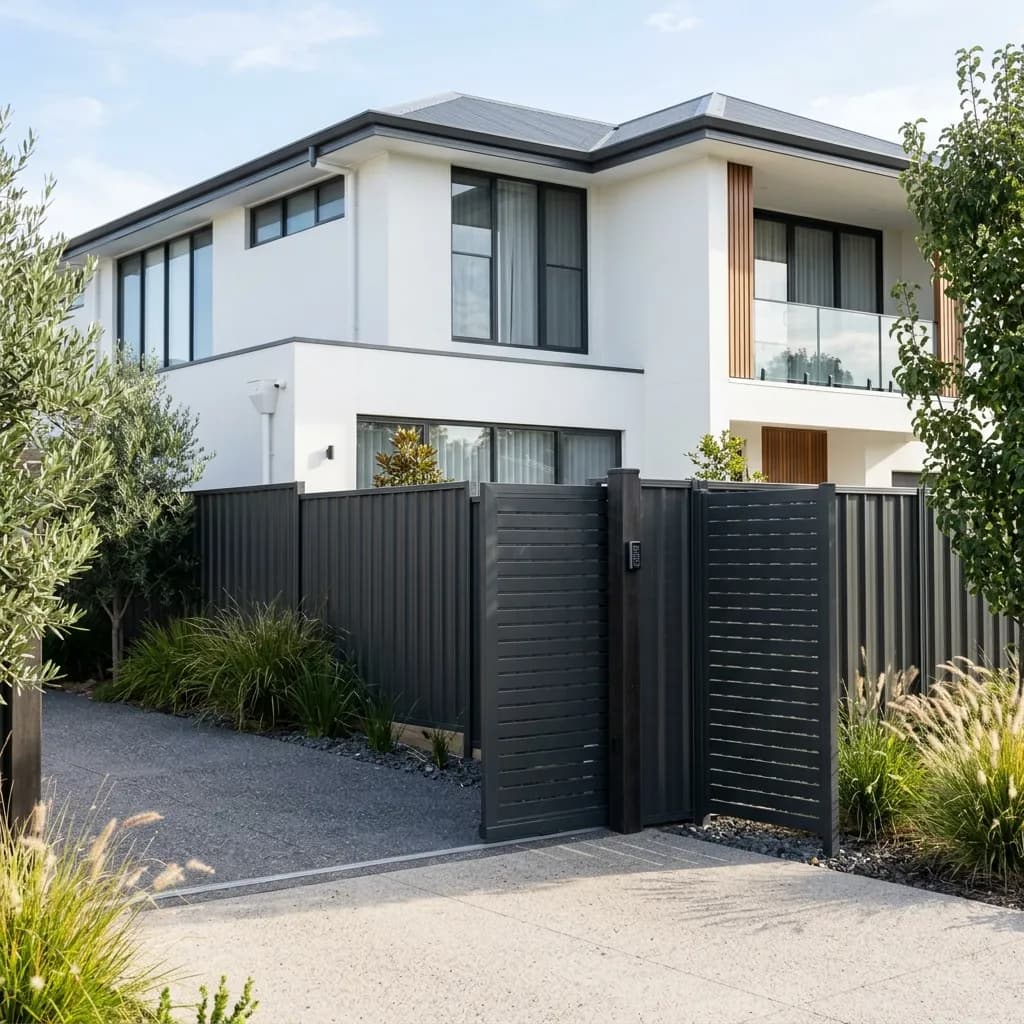 3
Rails at measured heights
Three rails fixed at the same heights on every post, so the sheets sit level along the run.
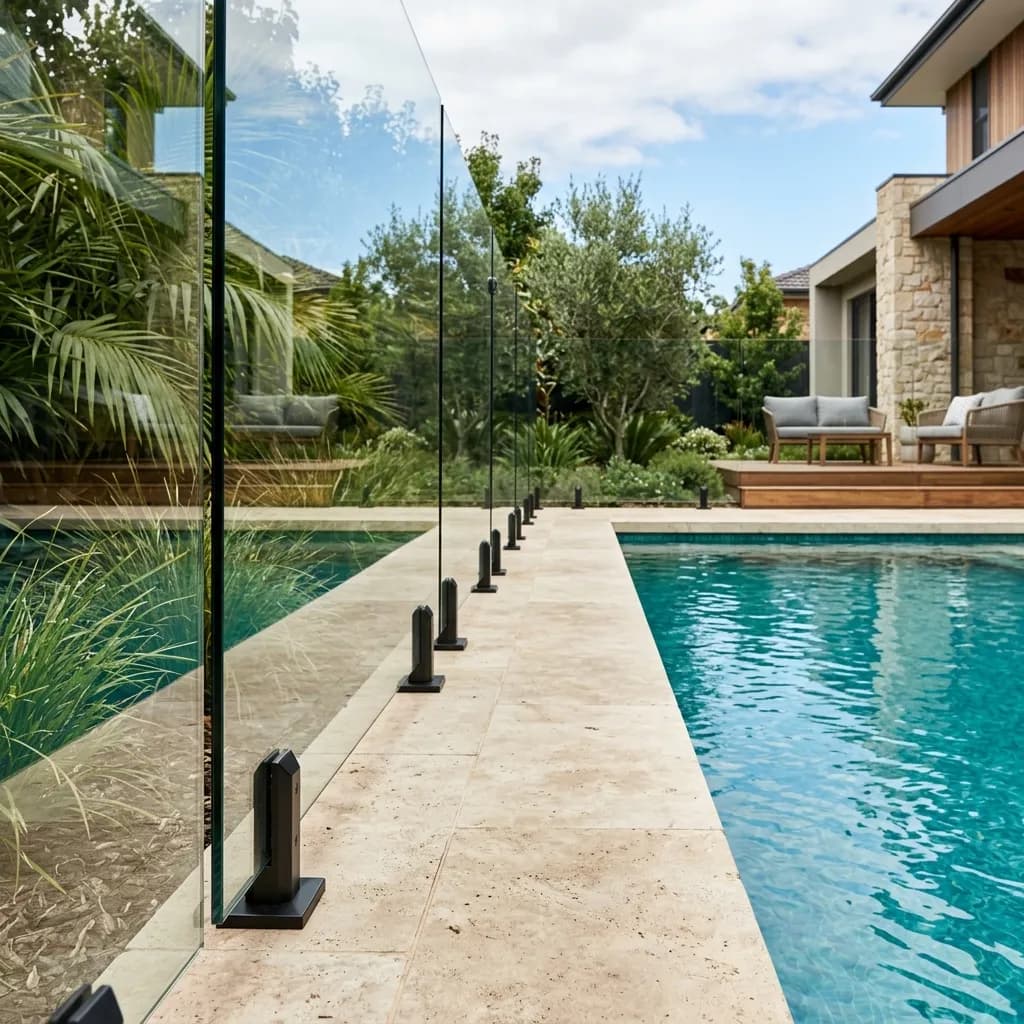 4
Sheets, clips and capping
Sheets dropped in and clipped, cut edges sealed, capping and post caps in the matched colour.
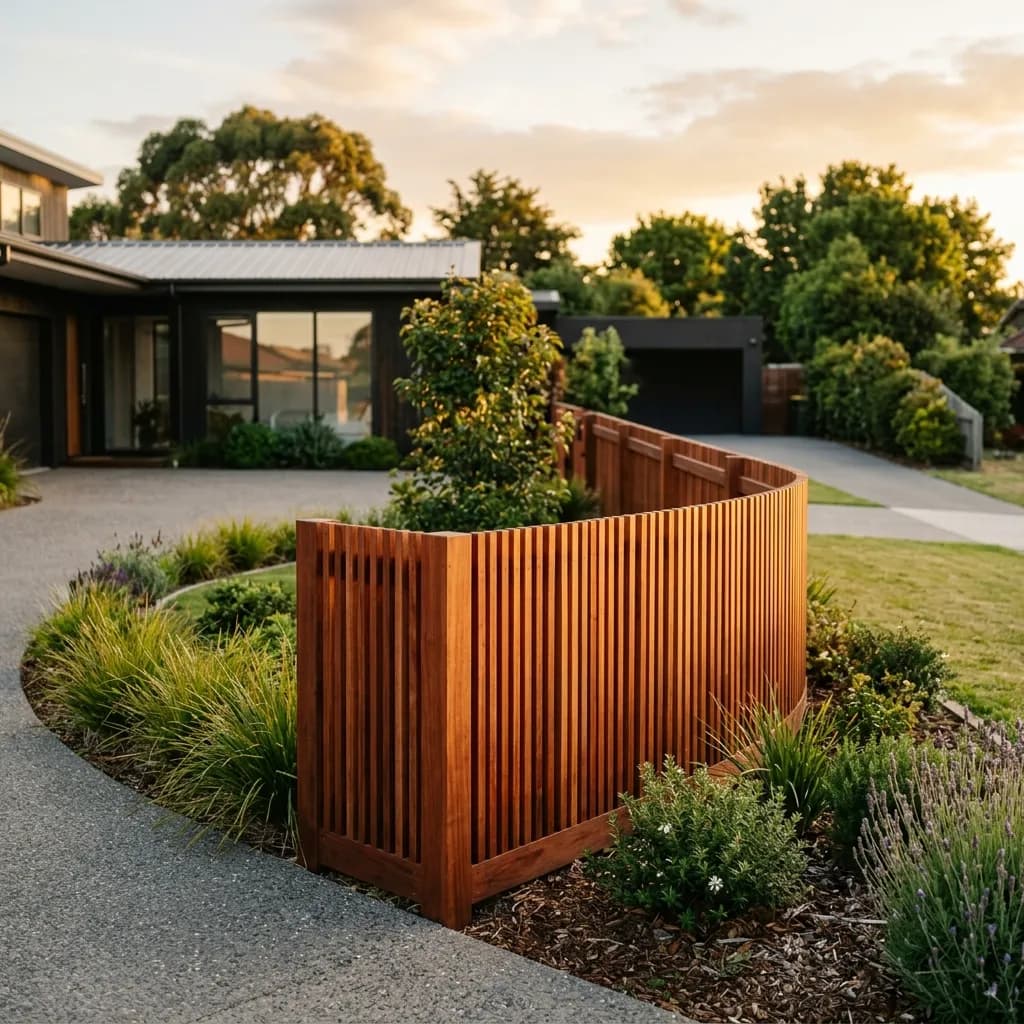 5
Gate and sign-off
Gate hung and adjusted, the run sighted from both ends, site swept, guarantee in writing.
The fence is decided at the posts. We do not rush them.
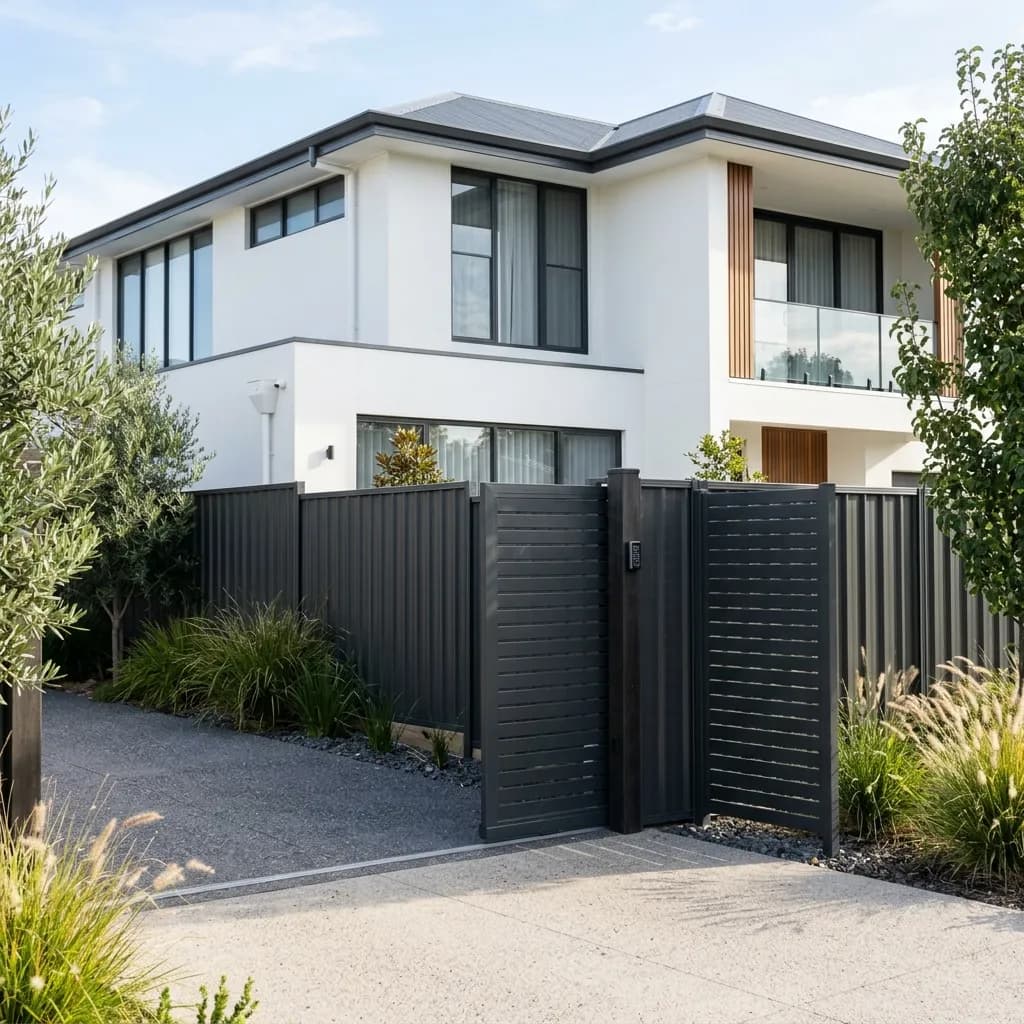
Installed by our own crews, guaranteed for a decade.
Not subcontracted, not a look-alike, genuine Colorbond® steel, fully insured, every time.
Footings to the soil, not the schedule
Clay, sand or basalt each get the depth they need. Shallow posts are why Melbourne fences come down in storms.
Posts cured before loading
Rails go on after the concrete has taken up, not while it is wet. A post nudged during cure is a post that leans.
Rails by tape, not by eye
The same three heights measured on every post is what makes the sheets line up from the street.
Labour-only, honestly
If you have bought the materials, we will install them, and we will tell you first if the posts are too short for the soil.
Frequently asked questions
Straight answers on cost, colours and how Colorbond holds up.
Ask us anything2400mm between post centres. Standard sheets are made to that width, so it means minimal cutting and the wind load the rails are designed for. Some installations use 1800mm on exposed sites or 3000mm with heavier rails, but 2400mm is the default for a reason.
Colorbond fencing across Melbourne
West and North
Known for basalt under the topsoil, so holes are machine drilled.
Related Colorbond topics
Ready for a straight
Colorbond quote?
Free measure · same-day quote · genuine Colorbond® steel with a 10-year workmanship guarantee.